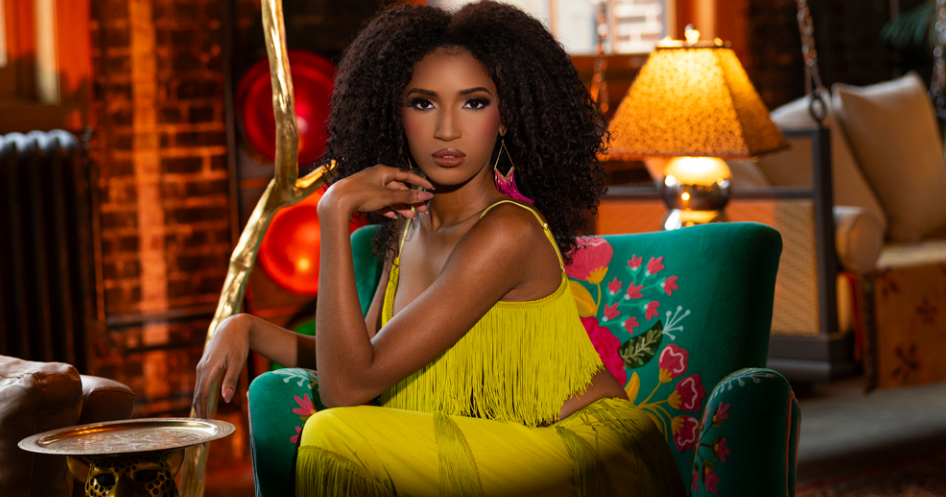
Detailed Summary: Portrait Lighting with a Projector: Cinematic Lighting Techniques
Written by professional portrait photographer Sal Cincotta and published on Behind the Shutter, this in-depth lighting tutorial breaks down how to use the Nanlite PJ-FMM Projection Attachment to craft intentional, cinematic portraits on-location, with a full real-world shooting case featuring model Mya Turner,
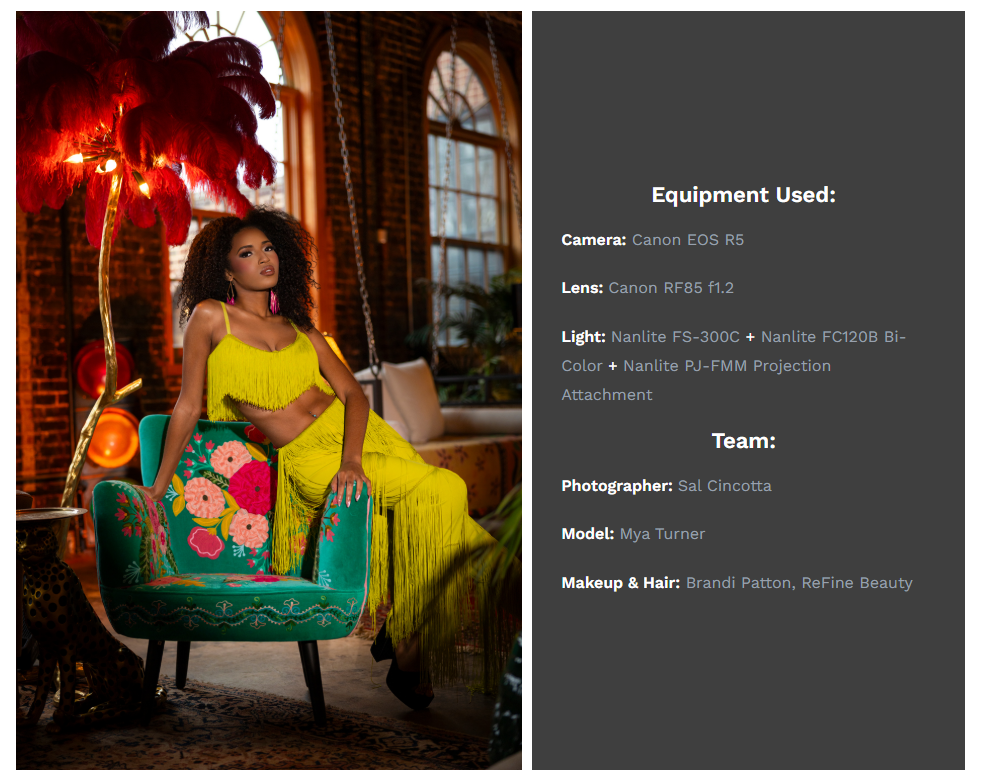
makeup artist Brandi Patton, and a complete Nanlite continuous LED lighting kit paired with Canon EOS R5 and Canon RF85mm f/1.2 lens. The core thesis of the article is that standard lighting tools like softboxes, umbrellas, and raw natural light only deliver broad, unfocused illumination; a light projector attachment grants photographers surgical precision to sculpt light, control contrast, and build three-dimensional depth that elevates casual portraits to polished editorial and cinematic work, without requiring large, cumbersome studio gear.
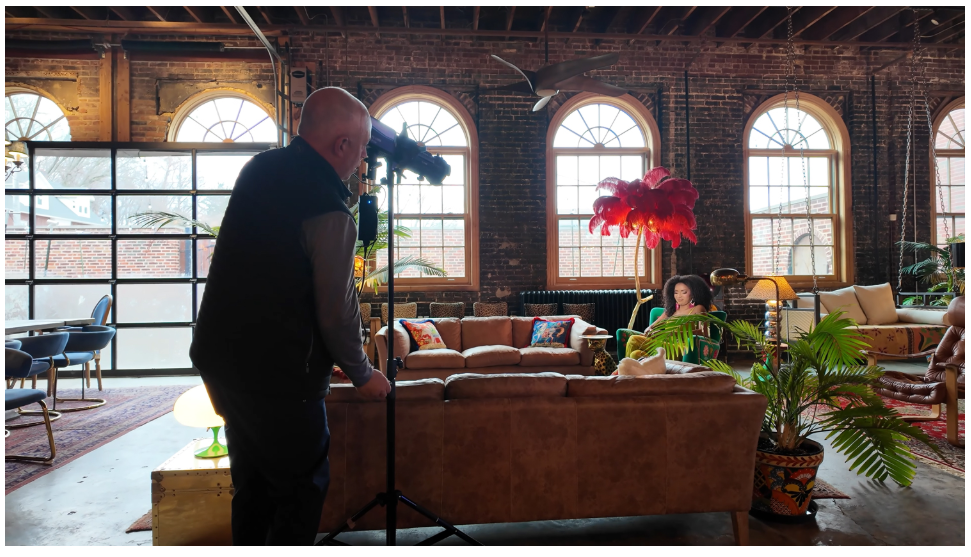
The article opens by addressing the common limitations of relying purely on natural ambient light during location shoots, a habit many portrait photographers fall into for its convenience. While window light creates soft, approachable imagery, it comes with unavoidable creative compromises: background highlights often blow out with no way to recover detail, the subject’s form merges visually with surrounding decor, there is zero control over light direction, and the resulting frame lacks separation between subject and environment.
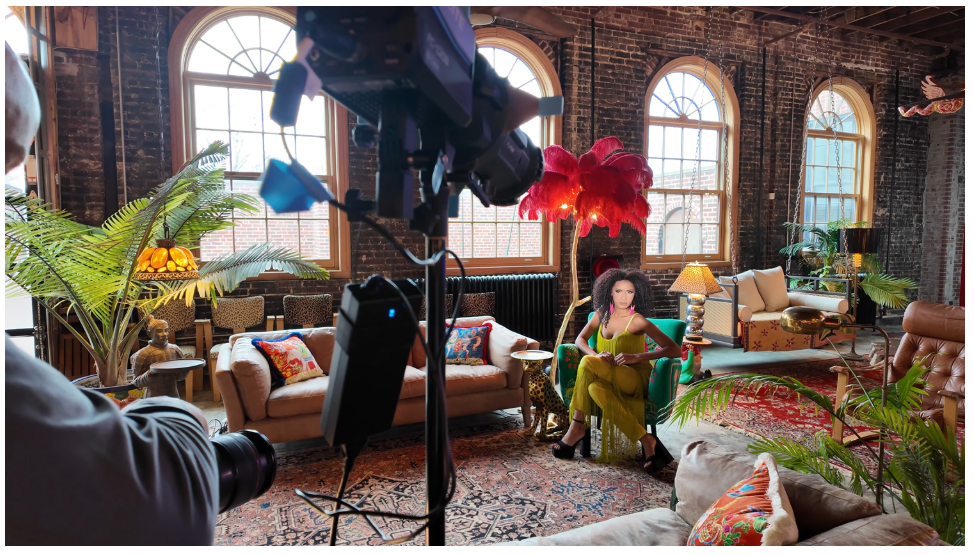
The tutorial includes a clear before-and-after comparison of the same model in the identical vintage brick loft space to illustrate this gap: the natural light shot feels flat and unfocused, while the projector-lit version locks all visual attention onto the subject through deliberate light shaping and controlled background underexposure. According to Sal Cincotta, this ability to isolate the subject rather than flood the entire room with light is the defining advantage of integrating a projection modifier into any portrait workflow.
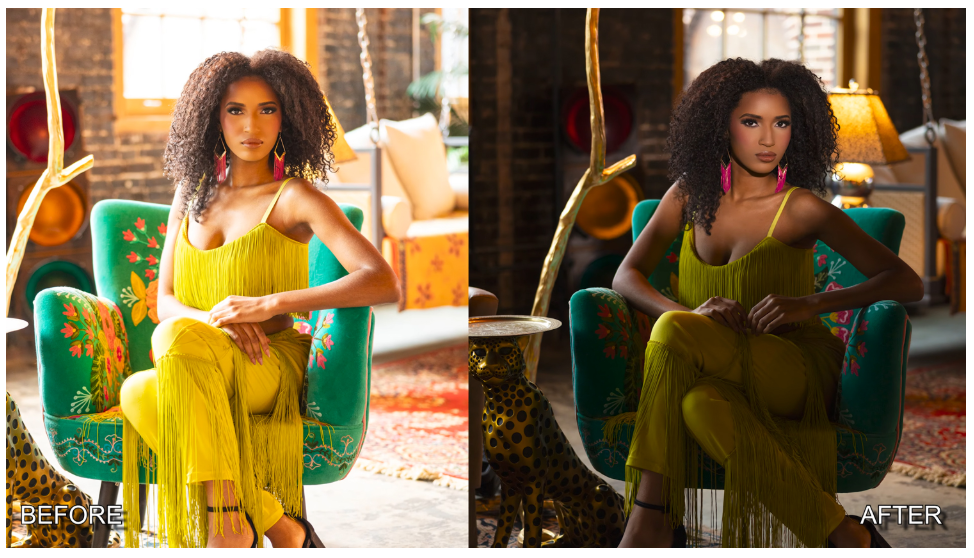
The primary lighting setup centers on the Nanlite FC120B Bi-Color LED light fitted with the PJ-FMM Projection Attachment as the key light source, calibrated to a neutral 5500K daylight color temperature and operated at low power output to avoid overexposure. The article elaborates on the two core adjustable functions of the projector that form the foundation of its control: beam size adjustment and focus tuning.
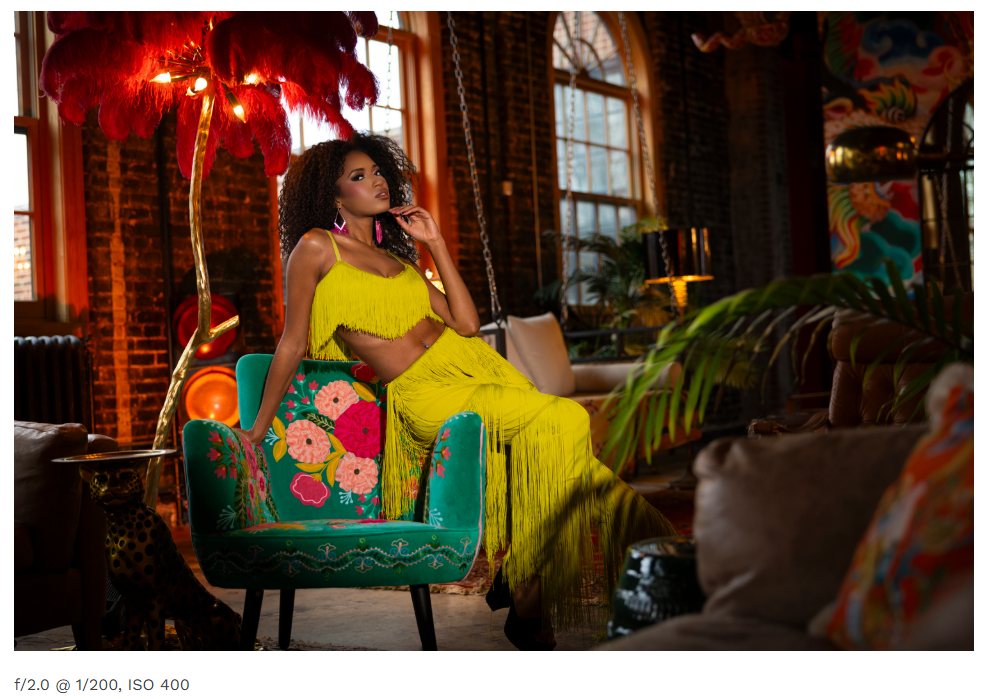
Beam size lets photographers widen or narrow the pool of projected light, so they can restrict illumination strictly to the model’s face and upper torso instead of spilling light onto furniture, walls, or distracting props in the background. Focus control manipulates the sharpness of the light’s edge: pushing focus forward creates crisp, graphic light boundaries ideal for bold fashion editorial shots, while pulling focus back softens the light’s falloff for a gentler, more natural blend with the existing room atmosphere. For this specific session, the team opted for a moderately soft-edged light wash to sculpt the model’s facial features and upper body, intentionally leaving the surrounding environment dim and underexposed to maintain clear subject separation.
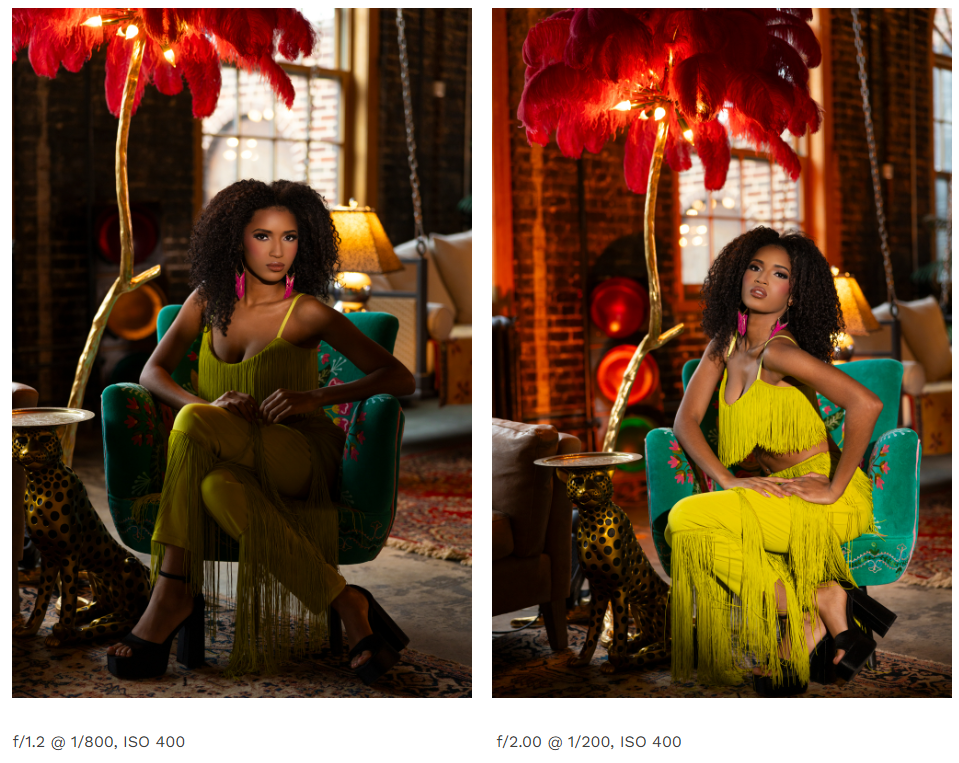
To build layered cinematic depth, the tutorial introduces a secondary supporting light, the Nanlite FS-300C RGB LED, positioned behind the subject and set to a warm 2700K kelvin temperature to cast a subtle amber glow across the background brick walls and vintage decor. This deliberate color contrast between cool neutral key light on the model and warm ambient accent light in the backdrop adds dimensionality that natural light alone cannot replicate. The article stresses that even minor shifts in the intensity or color temperature of this background light completely alter the emotional tone of the final portrait; warmer background hues create a cozy, luxurious vintage mood that perfectly complemented the model’s bright yellow fringed outfit and the colorful floral accent chair featured in the shoot. The two-light layered system eliminates the flat, one-dimensional look common to single-source natural light portraiture and gives every frame intentional narrative weight.
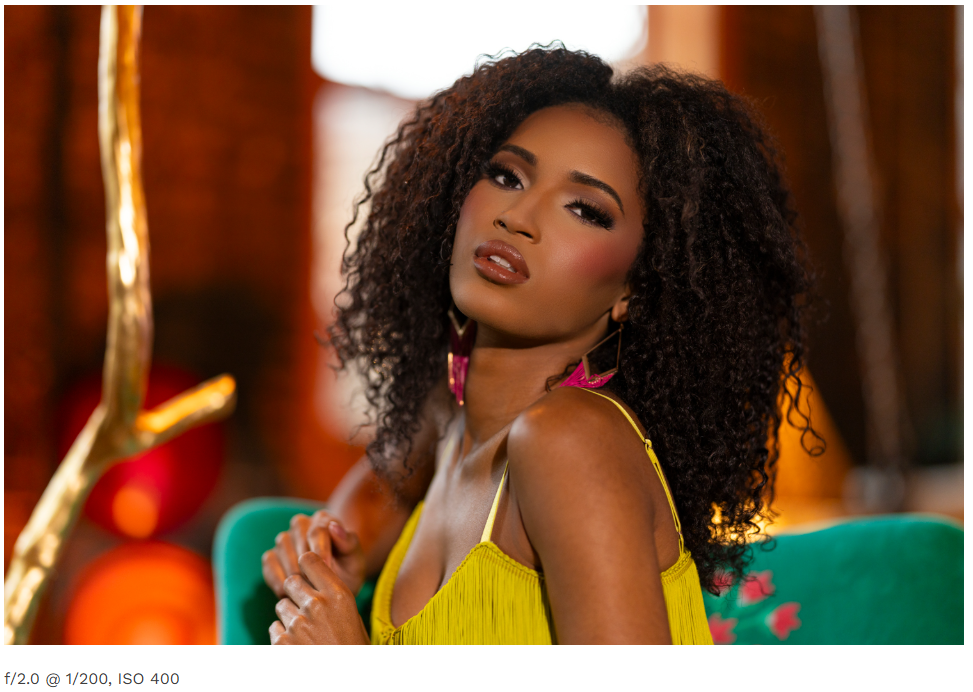
A major focus of the piece is explaining how to manipulate light falloff with the projector attachment to match the photographer’s creative vision. A tightly narrowed beam produces rapid, dramatic falloff, where light fades quickly away from the model’s face—this style prioritizes sharp focus on facial features and carries a bold, high-fashion editorial aesthetic. A wider beam delivers gradual, soft falloff, retaining more detail of the surrounding location for environmental portraiture that balances subject and setting without visual clutter. For this loft shoot, the team leaned into moderate hard falloff, as the stark transition between illuminated subject and shadowed background added structural shape to the portrait without fully erasing the character of the historic brick interior. The article also notes that continuous lighting’s real-time preview capability streamlines all these adjustments: unlike strobe flashes, every tweak to beam width, focus, or light power is visible instantly through the camera viewfinder, cutting down on test shots and speeding up on-location workflow significantly.
The tutorial further covers lens and framing choices that amplify the projector’s lighting effect, highlighting the Canon RF85mm f/1.2 prime lens as an ideal match for tight close-up portraits. Shooting at an ultra-wide f/1.2 or f/2 aperture maximizes shallow depth of field, blurring subtle background distractions and amplifying the separation already created by the controlled projected key light. When framing tighter head-and-shoulders shots, the photographer makes micro-adjustments to the projector’s beam width to ensure consistent, even illumination across the model’s facial plane, preserving the soft spotlight effect without uneven shadowing on cheeks or jawlines. The article reinforces that lighting and composition work in tandem: the precision of the projector light is wasted without thoughtful framing that guides the viewer’s eye directly to the illuminated subject.
Sal Cincotta closes the tutorial with a set of core takeaways that reframe how photographers should approach light shaping, emphasizing that the Nanlite projection attachment is not meant to fully replace traditional softbox and umbrella modifiers, but rather expand creative control into territory those broad diffusers cannot reach. Softboxes excel at delivering even, gentle ambient fill, while the projector’s super precise beam lets photographers selectively add light only where it serves the portrait’s mood and structure. For any photographer tired of generic,
flat natural-light portraits and aiming to produce standout, dimensional work for client galleries, the projector lighting system offers a flexible, portable way to build light from scratch on location, rather than passively relying on whatever ambient light a venue provides. Every element of the setup—from calibrated key light temperature, contrasting warm background accents, adjustable beam falloff, and wide-aperture portrait lenses—combines to transform a simple, unremarkable indoor location into a fully customized, cinematic shooting environment with minimal bulky gear.