Moderate-Length Summary: Golden Hour Portraits Made Easy with Continuous Light
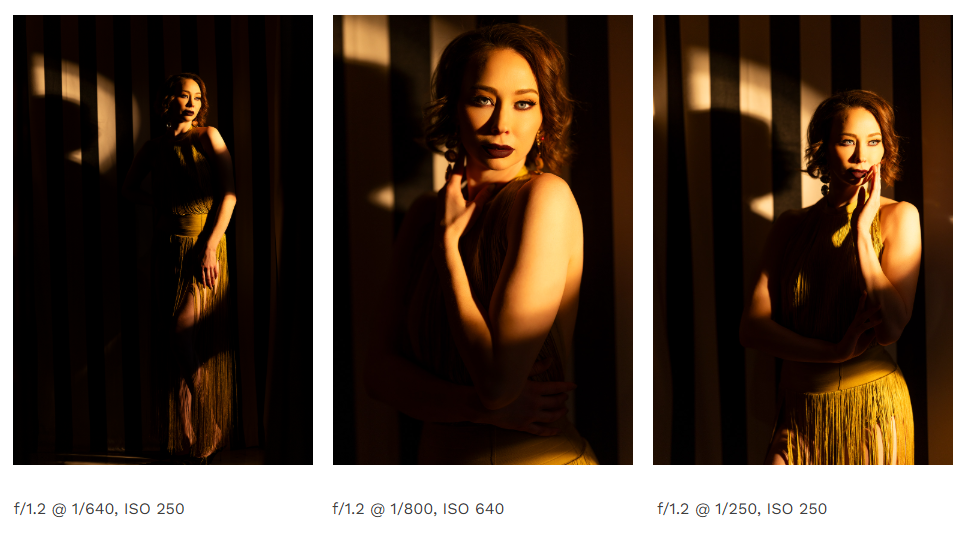
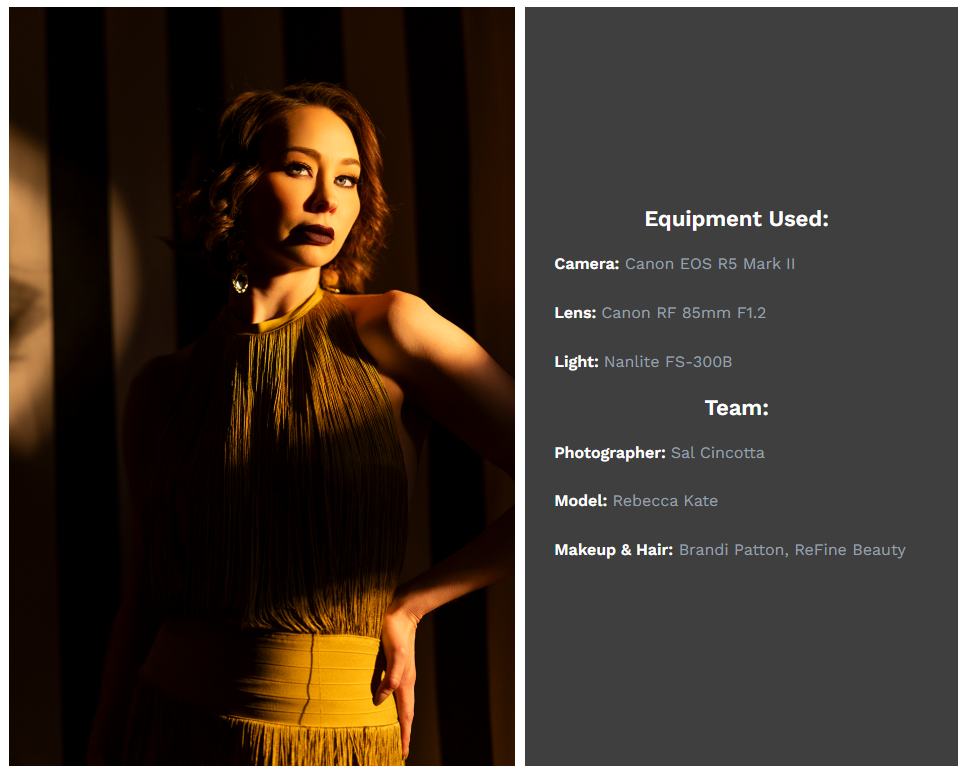
Published March 31, 2026 on Behind the Shutter by photographer Sal Cincotta, this practical tutorial reveals how to recreate authentic golden hour portrait lighting indoors without waiting for natural sunset. The full shooting setup relies on the Nanlite FS-300B bi-color continuous LED light, paired with Canon EOS R5 Mark II and Canon RF 85mm F1.2 prime lens, featuring model Rebecca Kate inside a compact striped indoor room to prove small spaces can deliver dramatic golden-hour-style results.
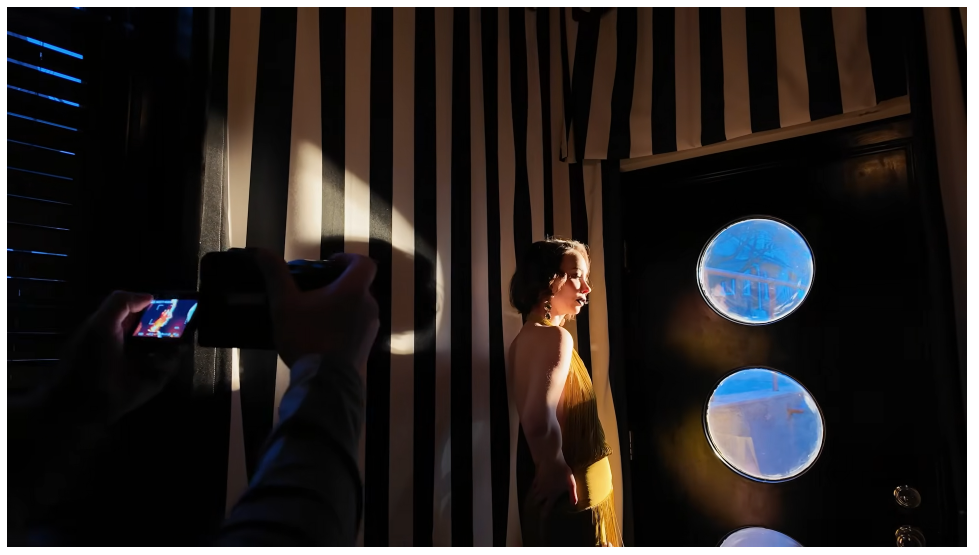
The article opens by highlighting the biggest advantage of continuous lighting over strobe flashes: instant, real-time visibility of shadows, warm glow and light falloff. When mimicking sunset’s signature warm directional light, every minor adjustment to brightness, angle or color temperature is visible through the viewfinder, eliminating repetitive test shots and speeding up the entire session. Many photographers assume large open outdoor areas are mandatory for golden hour portraits, yet this shoot demonstrates tight rooms with doorways or window openings work better—these gaps act as a simulated sun to channel focused light and build natural shadow contrast.
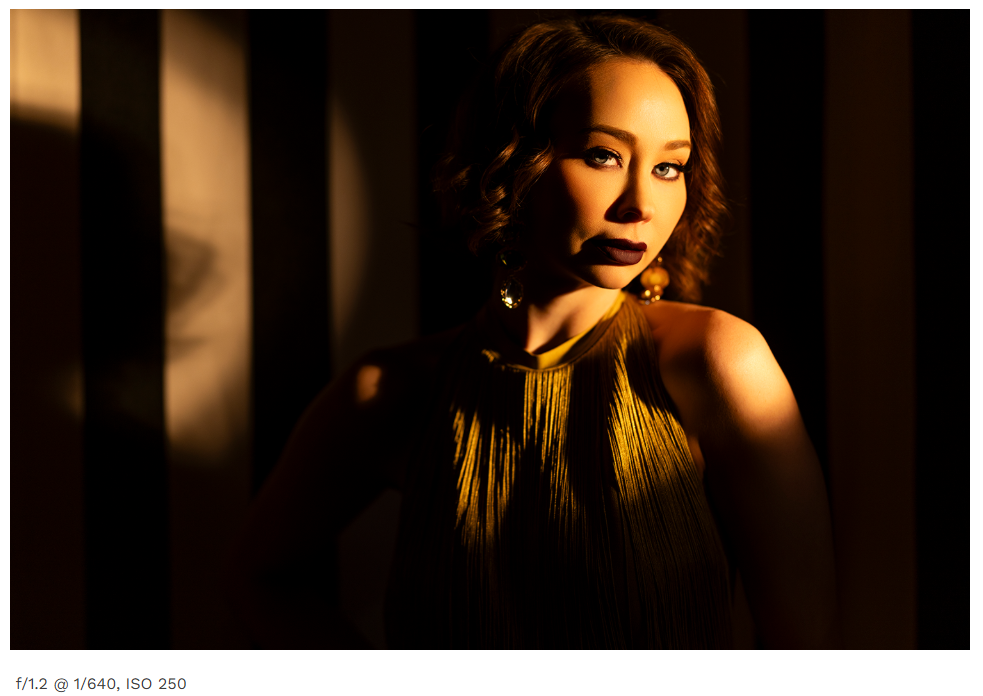
The core lighting recipe centers on carefully tuned warmth and directional placement. The Nanlite FS-300B is set to 2700K, the color temperature matching late sunset amber tones, and fitted only with its stock reflector instead of large softboxes. The key trick is placing the light unit outside the frame’s opening, aiming the beam inward toward the subject at low to moderate power. Over-bright light washes out the soft, layered shadow effect that defines golden hour; dimmer output lets patterned shadows from walls or curtains fall across the model’s outfit and skin for rich texture.
A critical camera tip shared fixes a common beginner mistake: avoid matching white balance to your light source exactly. With the LED locked at 2700K, photographers should manually set the camera white balance to roughly 4500K. This intentional temperature offset prevents skin tones from turning overly orange, preserving a clean, soft golden glow that requires far less color correction during post-production editing. The tutorial also emphasizes lens choices to amplify the dreamy golden hour aesthetic: shooting between f/1.2 and f/2 wide apertures with an 85mm portrait lens creates tight background blur, compresses facial features naturally, and isolates the lit subject from shadowed surroundings.
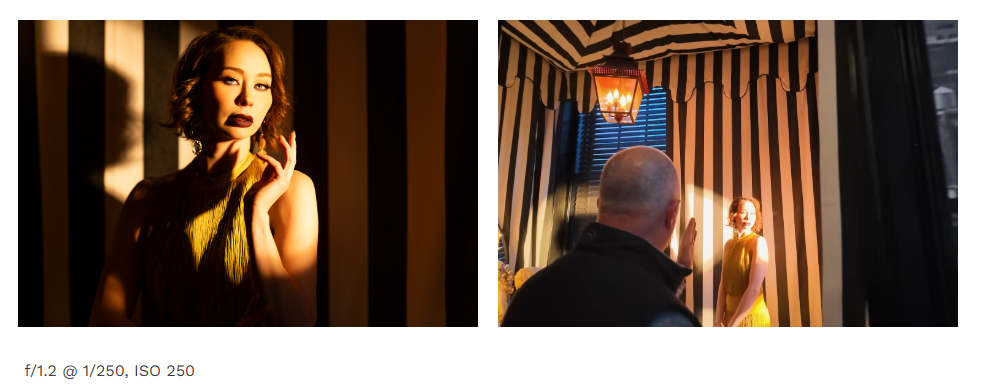
Subject posing guidance complements the lighting setup to avoid unflattering shadows. Photographers should guide the model to angle their face slightly toward the incoming warm light, with tiny chin tilts to keep eyes, nose and cheekbones free from heavy blocked shadow. Even subtle shifts of the shoulder or hand position change how light wraps across the body, adding dimension to full-body and close-up frames alike. The behind-the-scenes footage included in the post clearly shows how Sal adjusts the light’s distance and height to sculpt light differently for headshots versus full-length portraits.
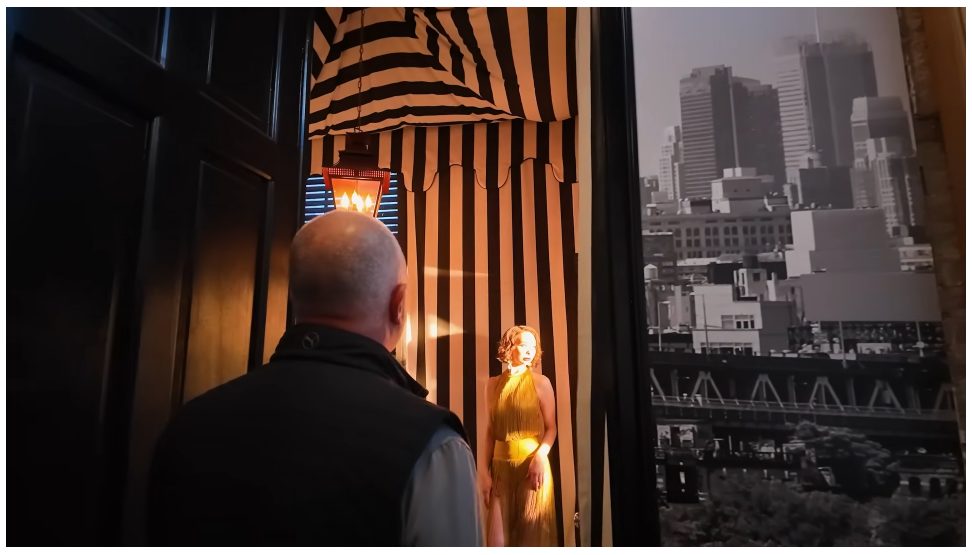
The tutorial wraps up with clear takeaways that simplify artificial golden hour creation for all skill levels. No complex multi-light rigs are needed; a single bi-color continuous light is enough to craft fully cinematic sunset-style portraits at any hour, indoors or on overcast days. Directional light flow and balanced color temperature always matter more than raw brightness, and unassuming small indoor locations can produce more moody, unique golden hour shots than generic outdoor sunset spots. This workflow removes the limitations of fleeting natural golden hour windows, letting photographers schedule portrait sessions with consistent warm lighting results every single time.